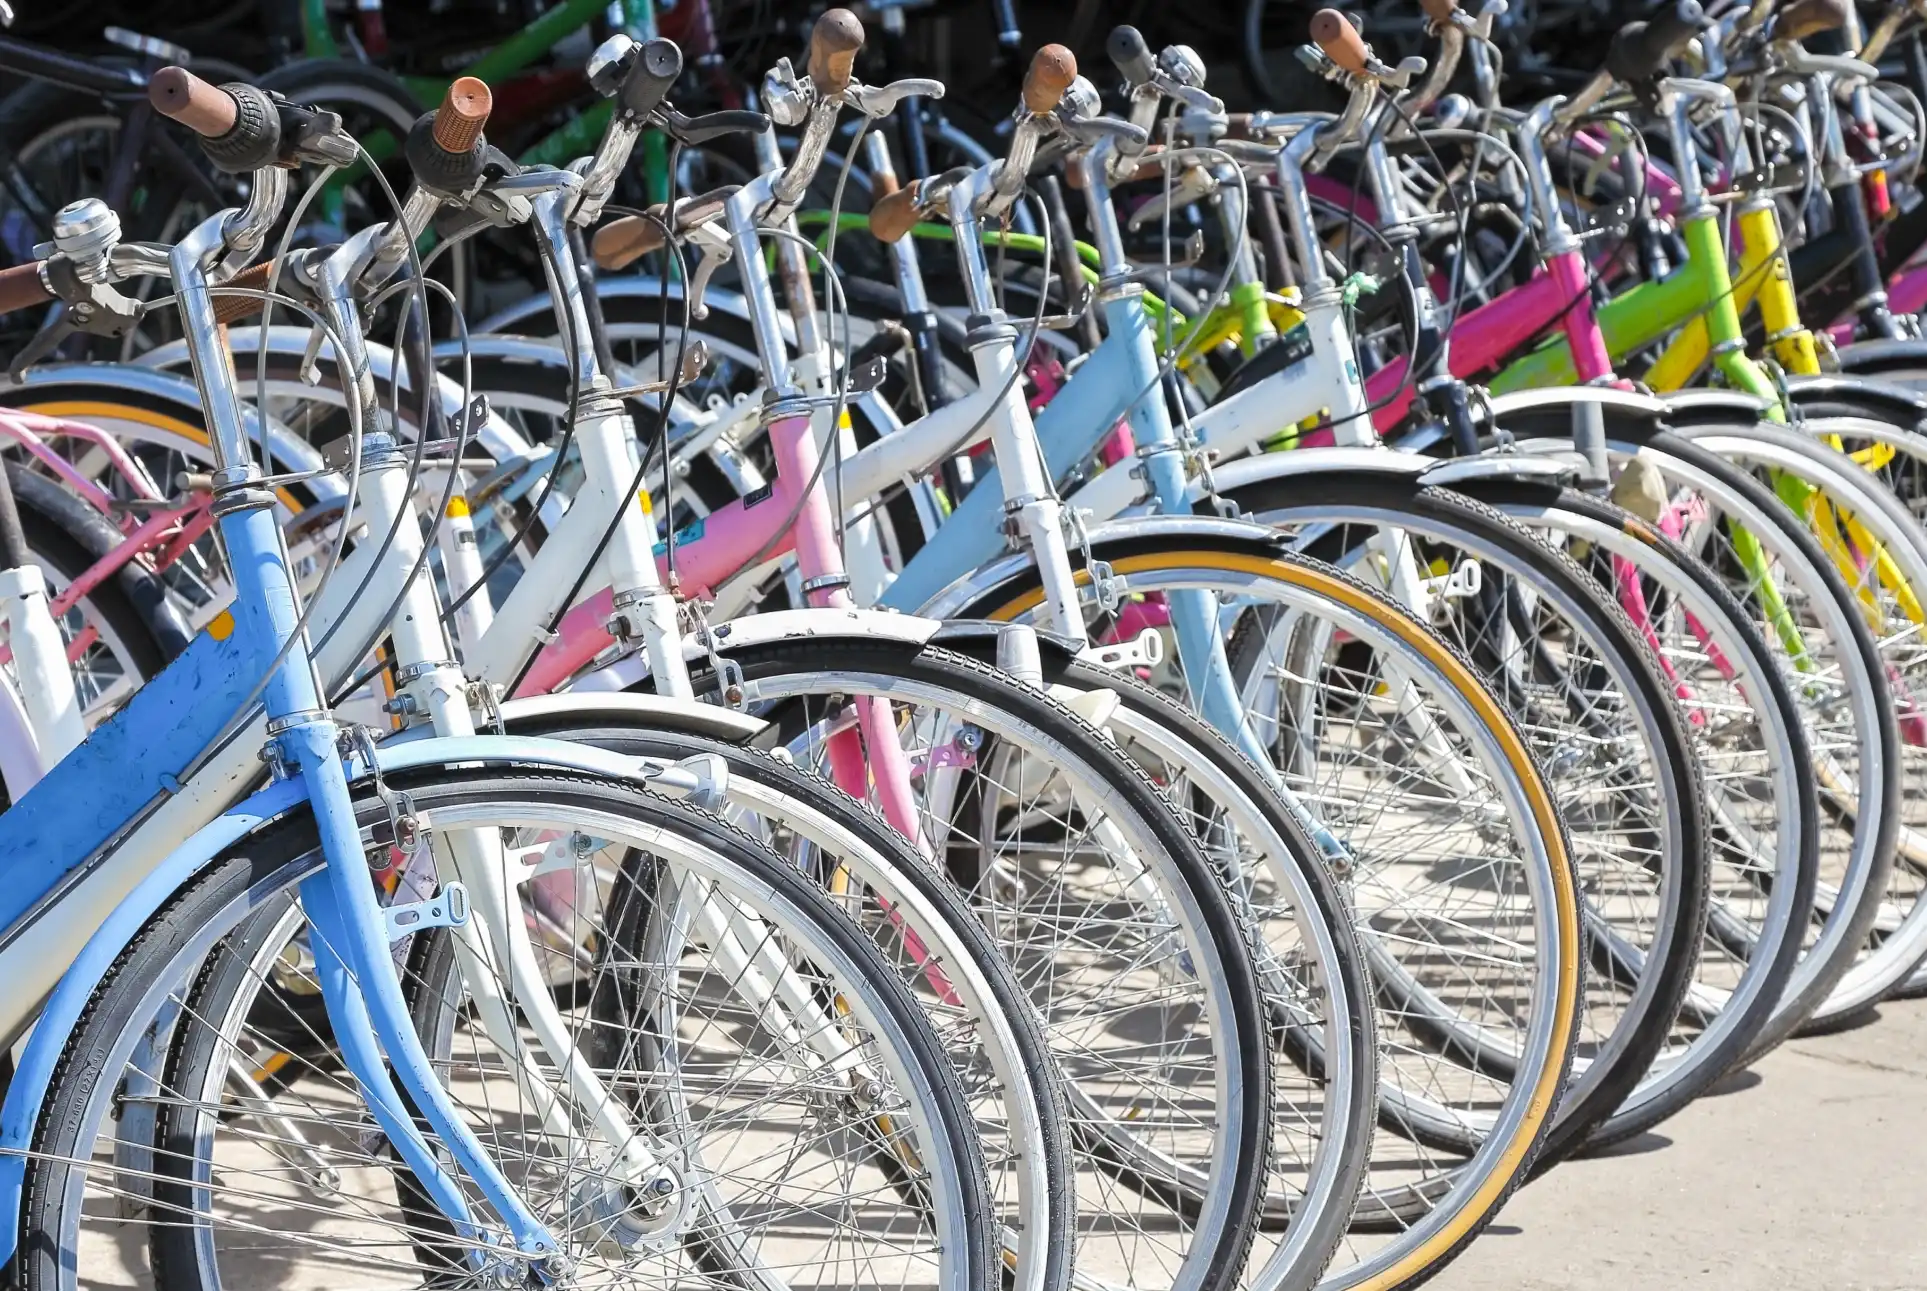
For rental businesses, keeping track of equipment is essential. Whether you rent out camera gear, tools, or event supplies, every item needs to be easy to identify, locate, and check in or out quickly.
Barcode labels help make this possible. By giving each item a unique identifier, your team can scan equipment and instantly access its information in your inventory system. This is much faster and more reliable than manually searching for items or checking serial numbers.
For example, in a camera rental store, staff can quickly scan returned cameras and lenses instead of reading and matching serial numbers. In an event rental company that manages large quantities of equipment like chairs or lighting, scanning barcodes helps ensure every item is accounted for during order preparation and returns.
Barcode labeling also improves accuracy. Because items are scanned rather than entered manually, it reduces the chance of human error and helps you keep reliable records of where equipment is, who rented it last, and when it is available again.
Scanning barcodes from your smartphone
Once you add barcode labels to your equipment, the next step is scanning them during everyday operations.
You might assume this requires a dedicated barcode scanner, but thanks to Booqable, that is no longer necessary.
With the Booqable mobile app, you can scan barcodes directly using the camera on your smartphone or tablet. This allows your team to check items in and out of orders, quickly locate products in inventory, assign barcodes to new items, and confirm equipment during returns.
Because the scanning happens through your device’s camera, you can start using barcode workflows immediately without purchasing additional hardware.
Once your team gets used to scanning items during check-outs and returns, barcode labels quickly become one of the easiest ways to improve efficiency in your rental operations.
What you should know about label printing
If you are just getting started with barcodes, you may be wondering which type of barcode to use, whether your software supports barcode scanning, and how you can design and print your own labels.
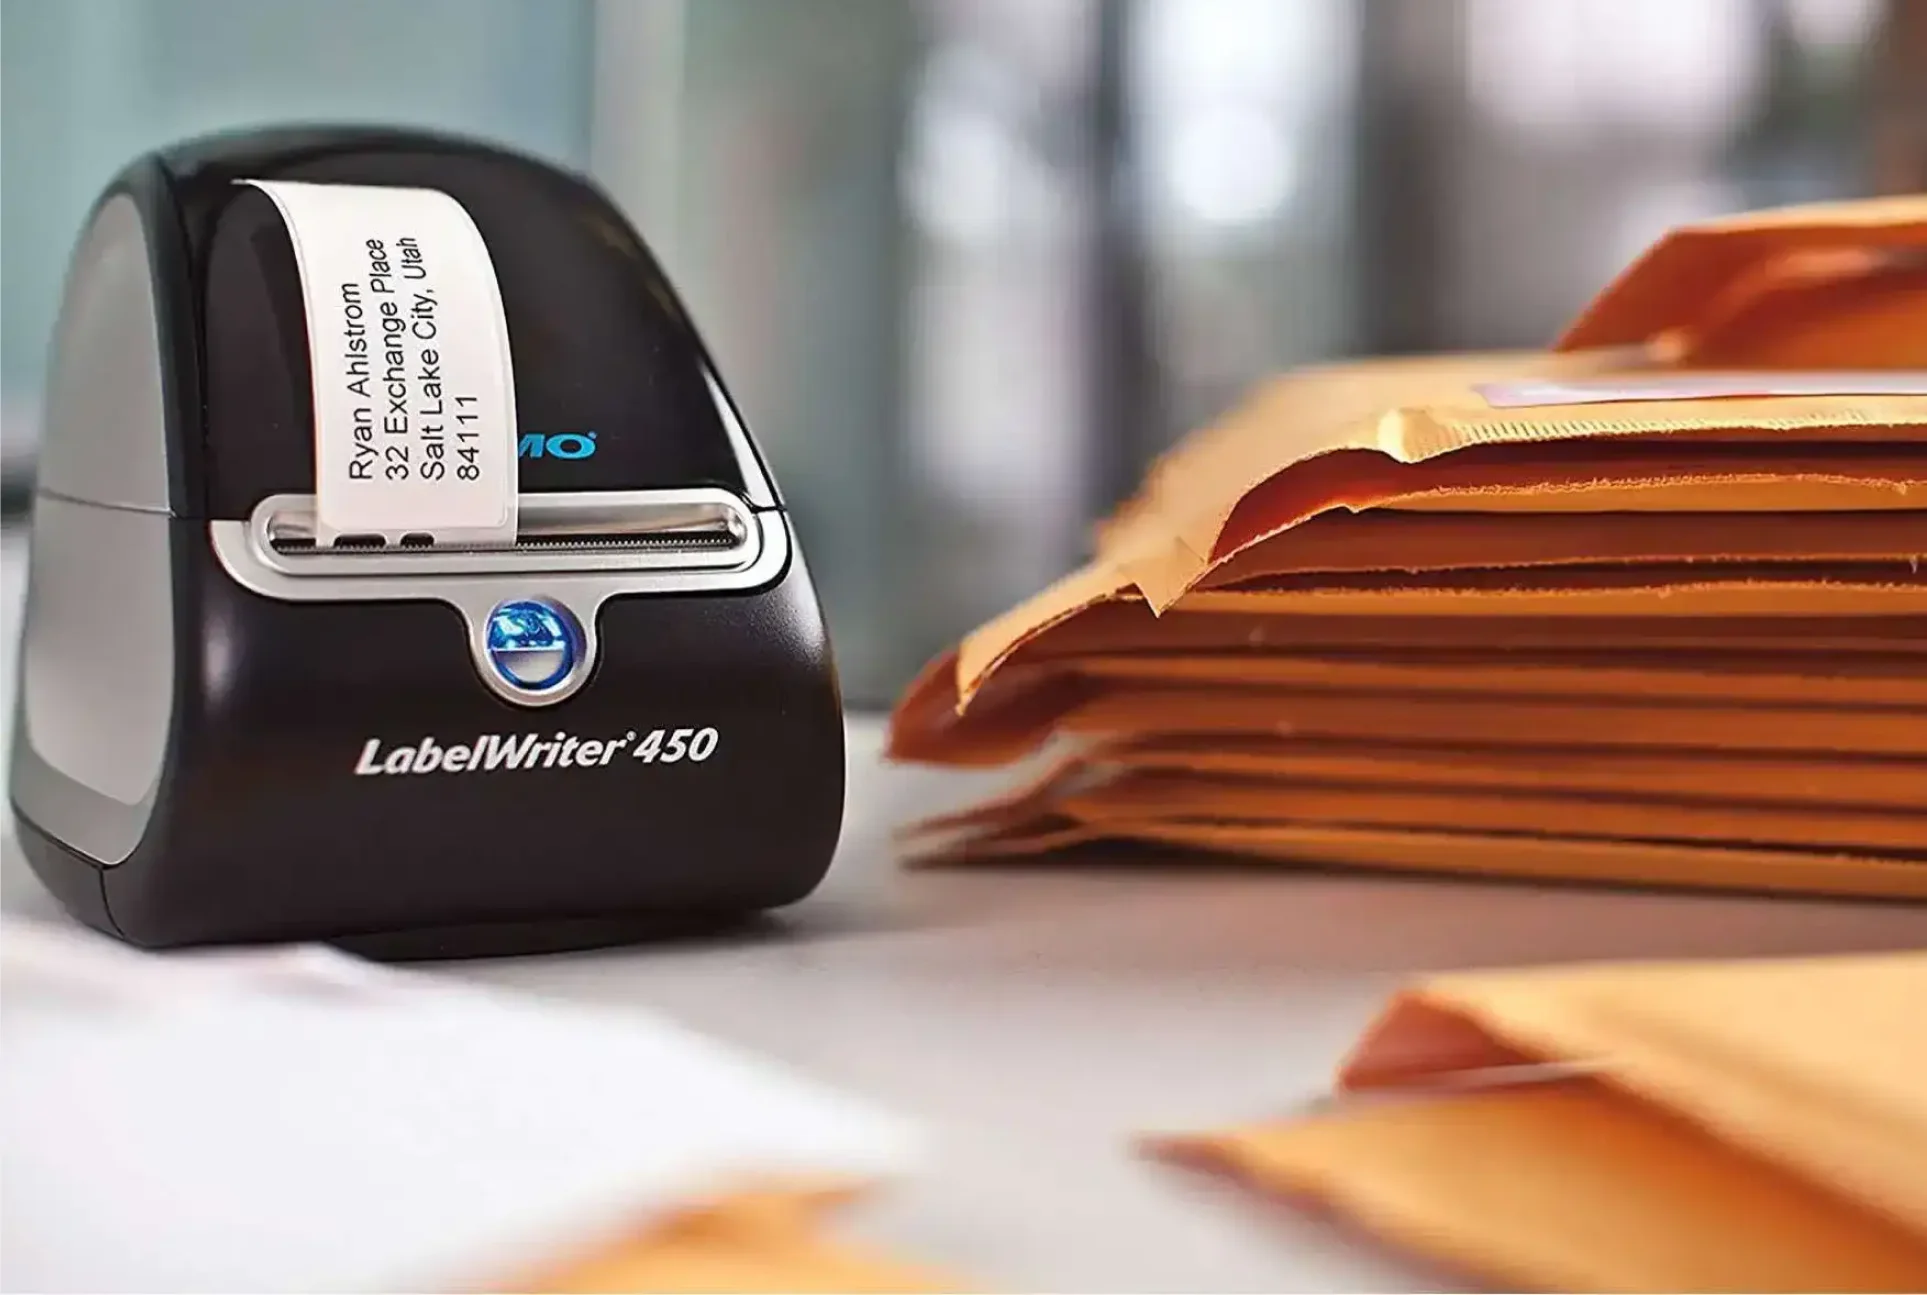
In this post, we will walk you through how to design and print professional barcode labels using the DYMO LabelWriter 450, a popular and affordable label printer that works well for rental businesses.
Choosing the right label size
DYMO supports a range of label sizes, and the best option depends on what you are labeling.
Small labels that are around 1 inch wide work well for compact items such as camera lenses, cables, or small tools. These labels can include QR codes, which allow you to quickly scan the item with your phone to pull up its record in your rental system. QR codes are especially useful for fast check-ins, checkouts, and inventory counts, and they work well on curved surfaces such as lenses or cylindrical equipment.
Larger labels, such as 2 inches by 2 5/16 inches, provide more space for bigger equipment and can include additional information like asset IDs, item names, or larger QR codes for easier scanning.
If your labels need to withstand heavy use, you may want to consider more durable options. You can invest in a high-grade industrial label printer designed for rugged environments. Another option is to have your labels printed by a professional label vendor that specializes in durable asset labels.
Tip: The DYMO LW Durable series offers extra resilience with industrial-strength adhesive and a scratch-resistant coating, making them well suited for rental equipment that is handled frequently while still allowing clear QR code scanning for quick item identification.
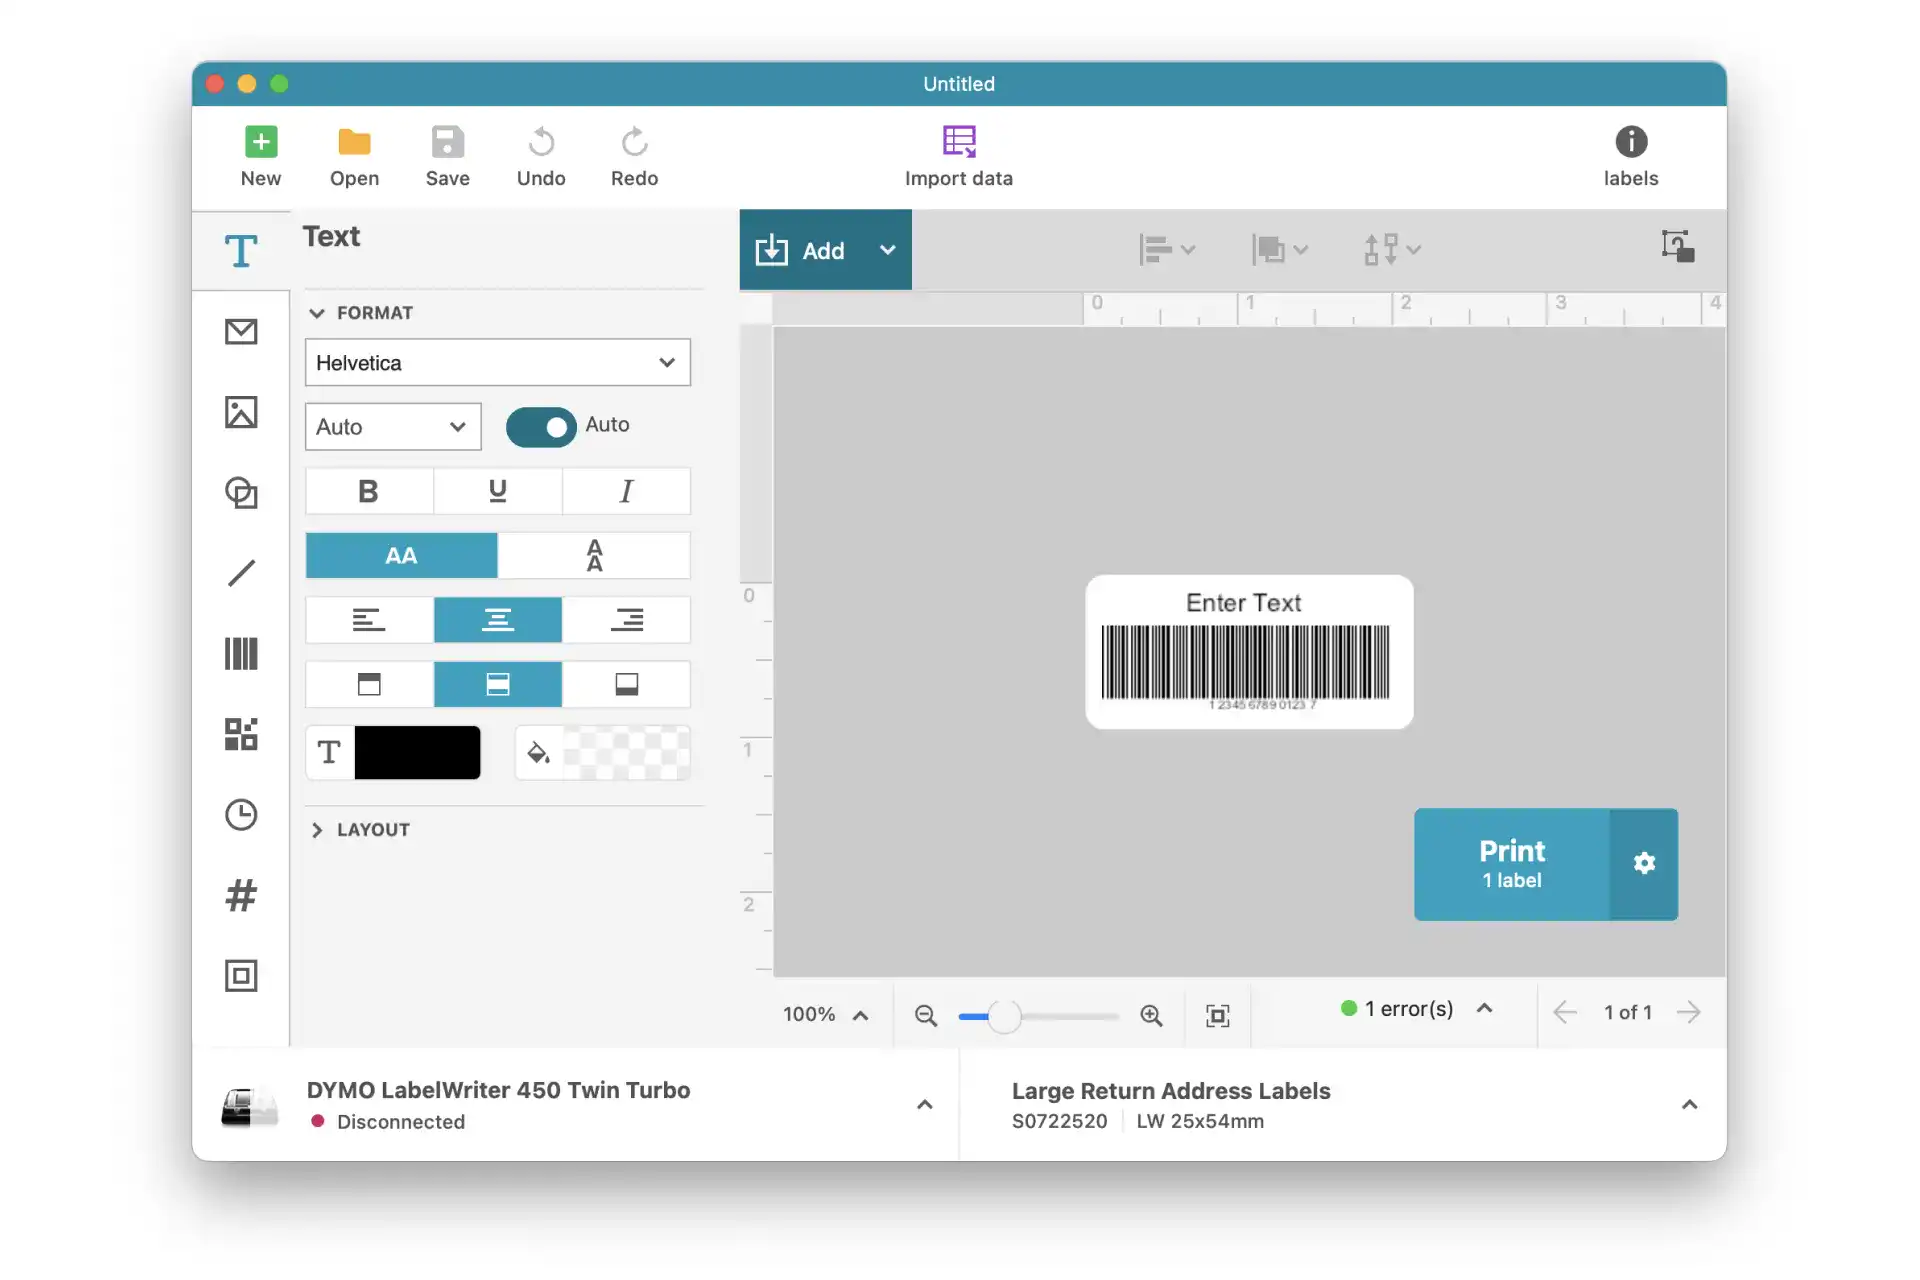
Designing labels with DYMO software
The DYMO Label software makes label design simple with a drag-and-drop interface. You can easily add your company logo, addresses, text, branding elements, and barcode fields.
The software is user-friendly and easy to learn, even if you do not have design experience.
Before you start printing
Before designing your labels, make sure you have already added barcodes to your products in Booqable.
Once your label layout is ready, you can import product data from a spreadsheet, such as a Booqable export, and generate all your barcode labels in one batch. This approach is faster and reduces the risk of manual errors.
Note: Booqable supports the following barcode styles:
-
QR codes (our most recommended method)
-
EAN-8
-
EAN-13
-
Code 39
-
Code 93
-
Code 128.
You can select the correct symbology when designing your custom layout in the DYMO Label software.
Our step-by-step guide
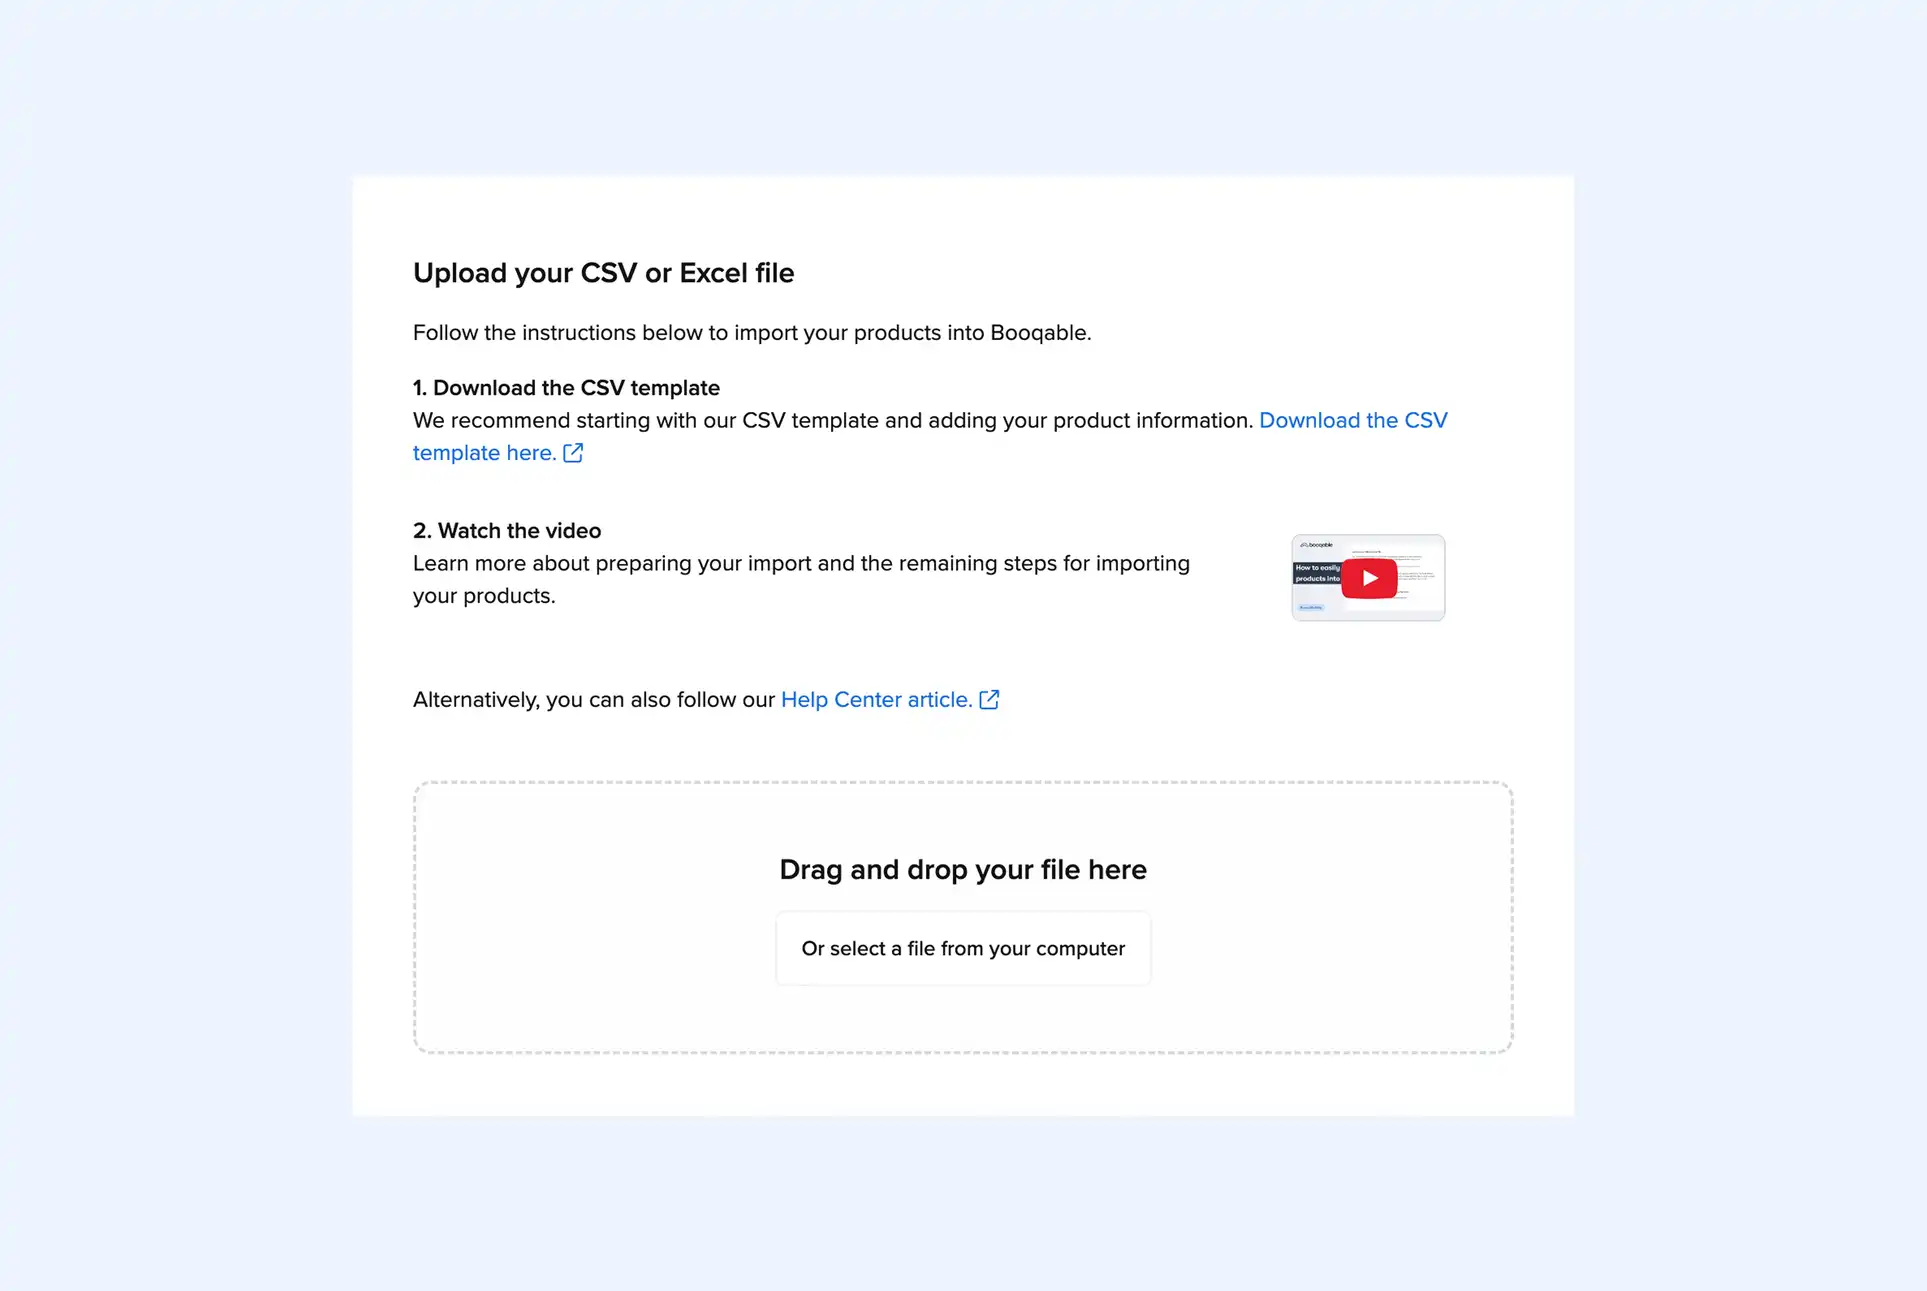
Exporting your Booqable products to a CSV file
-
From your Booqable account, go to Inventory, then Products, and click Export.
-
Your inventory CSV file will download in your browser and contains useful data such as product names, identifiers, SKUs, and barcodes.
-
You can then import this file into the DYMO Label software to design and print your barcode labels.

Design a custom layout for barcode labels
With the DYMO Label software installed, you can build customized layouts for your barcode labels.
-
Open the DYMO Label software and select the desired label size.
-
Select a layout from the presets. For this example, choose the blank layout.
-
Click Insert to view the label objects you can add to your layout.
-
Add a Barcode object to your label.
-
Position the barcode where you want it and click Properties in the left panel.
-
In the Barcode Object Properties menu, select the correct barcode symbology from the drop-down menu.
-
Add a Text label object to display additional information such as the product name.
-
When you have finished designing your layout, go to File and select Save as Layout. Give your design a name and click Save.
Print your customized barcode labels
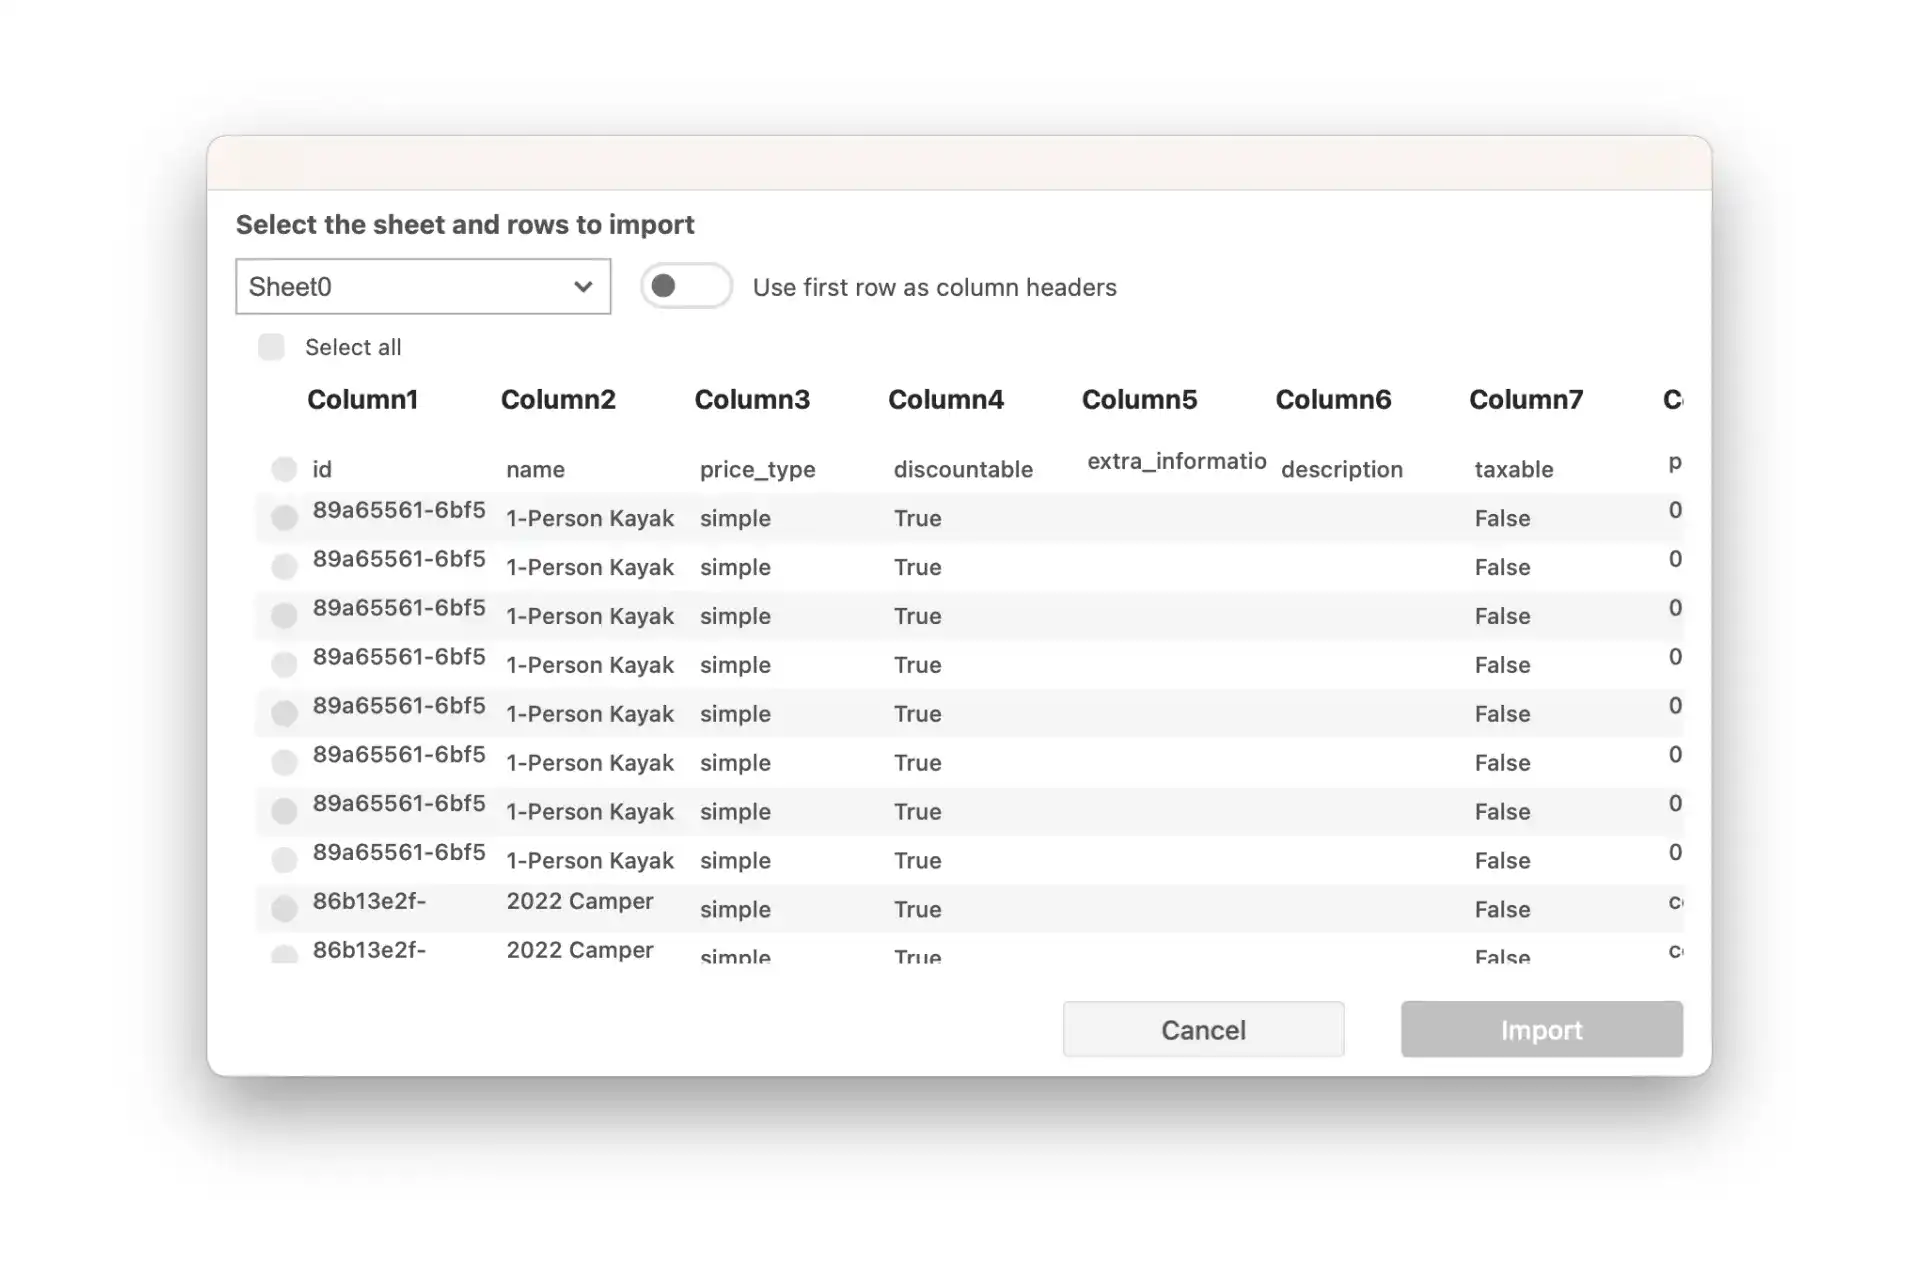
After saving your label layout, you can import the CSV file you exported from Booqable and connect the product data to the label fields.
-
Go to File and click Import data.
-
Click Browse and select the CSV file exported from Booqable.
-
Confirm that the information is imported correctly.
-
Click a field in your label preview and select the corresponding column from the data fields. For example, select the barcode field for the barcode object.
-
Repeat this process for any additional fields included in your design.
When the barcode field is populated, the DYMO Label software may automatically add a space at the end of the barcode value. Make sure to remove this space, otherwise the barcode may not scan correctly.
Once everything looks correct and the right printer is selected, you can click Print.
Assigning barcode labels to new products
When adding barcodes to a large number of products, the CSV import method described above is the most efficient approach.
However, if you are adding only a few items to your inventory, it can be easier to assign barcodes using the Booqable mobile app.
-
After printing your barcode labels and attaching them to your equipment, open the Booqable mobile app and go to Settings, then select Set up barcodes.
-
From there, you can scan the new barcode using your phone’s camera and select the product you want to assign it to.
Closing thoughts
Barcode labels are a simple but powerful way to improve how you manage rental equipment. By scanning items during check-outs and returns, your team can work faster, reduce manual errors, and keep inventory records accurate.
Whether you run a camera rental shop managing valuable gear or an event rental company tracking large quantities of equipment, barcode workflows help you stay organized.
Using tools like the DYMO LabelWriter 450 together with the Booqable mobile app, you can design, print, and scan barcode labels without complex hardware or expensive setup. Once implemented, barcode labeling becomes one of the most effective ways to keep your rental inventory under control.